Upload and Activate the plugin on your wordpress site.
Upload and Activate WooCommerce Subscriptions on your wordpress site.
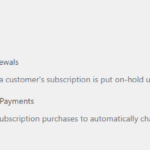
(Optional) Some gateways do not support automatic payments and therefore would not show as a checkout option for your client when a subscription product is in the cart. You can solve this by turning on manual renewals and turning off automatic payments. Additionally, please leave “allow switching” unchecked.
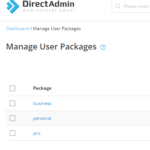
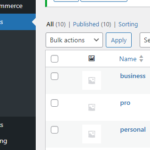
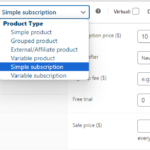
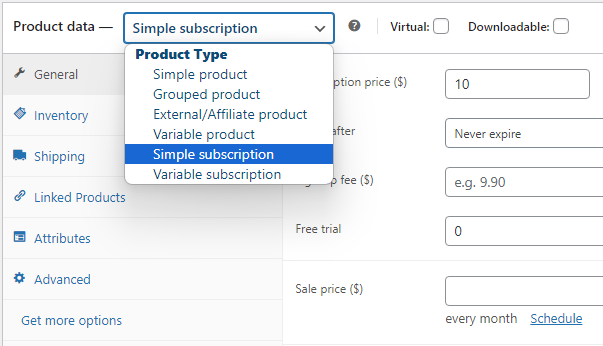
Create woocommerce “simple subscription” products and Overmill user packages with the same titles.
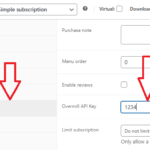
Click on the general tab in your woocommerce product and enter your api key in the api field. Only do this for products that will be synced with Overmill.
Optionally, you can enter a grace period (in days) for your clients after their subscription has expired.
Upload and Activate the plugin on your wordpress site.
Upload and Activate WP Domain Checker on your wordpress site.
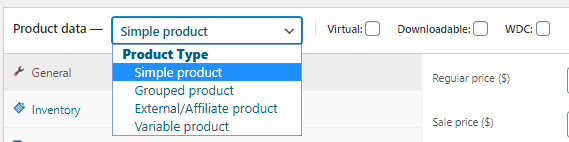
Create a Product in Woocommerce. Product data should be Simple Product.
After the product created, get the Product ID. On the screenshot image below, the product id is 567 (replace with your product).
Then go to WP Domain Checker settings. On Integration With section, select Woocommerce. And then, Enter the button text. eg: “Order” or “Purchase Now” Also, input your product id on integration button link field.
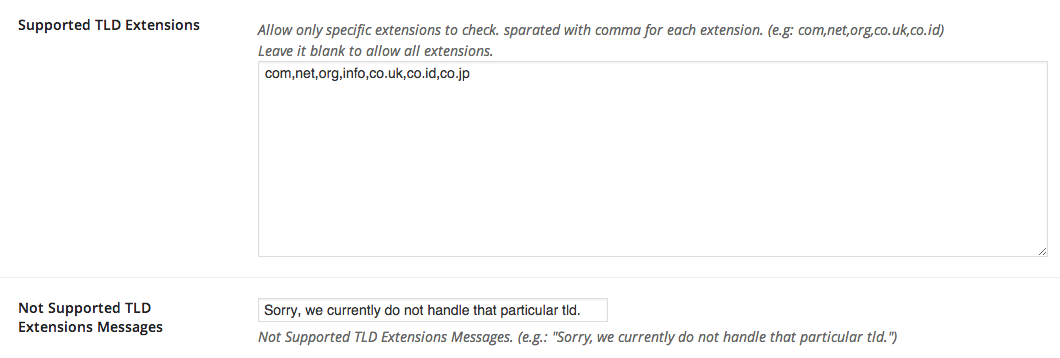
Allow only these TLD to check. Please contact overmill if you’d like more TLD. (com,net,org,co,store,info,me,club,show,business,academy,io),.
You can set custom pricing for each TLD, if you don’t set the price for the TLD, the default product price is used. you can set the price from wp domain checker settings, scroll down and find WooCommerce Custom Price CLICK HERE TO SEE OVERMILL PRICE SO YOU CAN ADD YOUR MARKUP
for example, you want set price for com $11, net $9, org $8, co $4 and info $3.99 just add like this to the box, com|11,net|9,org|8,co|4,info|3.99
You can use shortcode [wpdomainchecker] to show domain name checker form in your page or post.
Extra Shortcodes
Parameter
Description
Example
Button
Change button text. Default: “Check”
[wpdomainchecker button="SEARCH"]
width
Change search box width. Default: 900px
[wpdomainchecker width="600"]
size
Change search box size (small or large). Default: large
[wpdomainchecker size="small"]
class
Add additional Class to the Search Box You can use “mobile” class if you place the shortcode in small container, this is will make the design fit with the container.
[wpdomainchecker class="mobile"]
allowed_tld
Allow only specific tld to be check. Separate by comma for each extension. Default: no